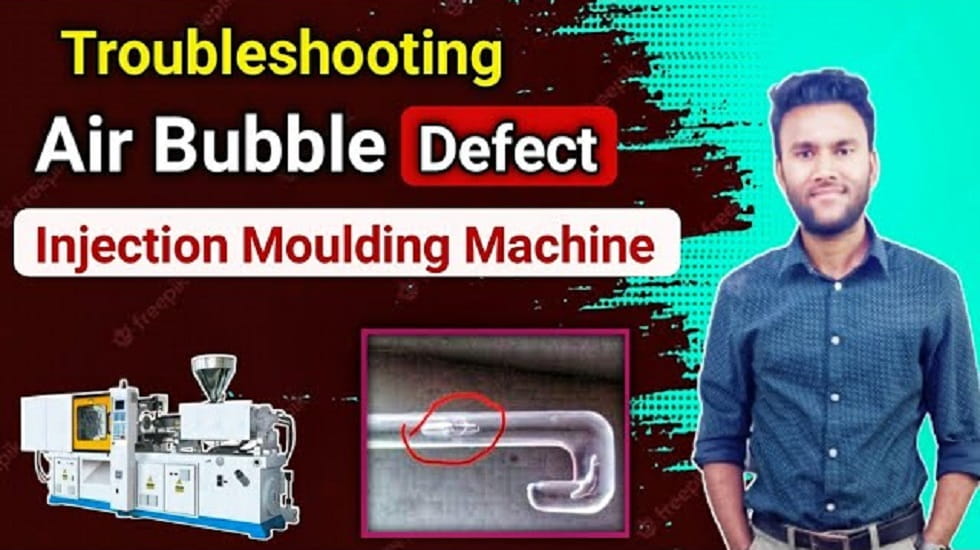
Bubbles are one of the most common defects in plastic injection molding, negatively impacting the appearance and performance of parts. But what exactly causes bubbles?
In this complete guide, as a professional plastic injection molding manufacturer, we’ll explore the various root causes of bubbles, from issues with materials, machines and molds to process parameters. By understanding what’s behind these defects, you can take targeted preventative and corrective actions for flawless production.

What Causes Bubbles in Plastic Injection Molding: Main Sources
Bubbles arise when gases get encapsulated within the plastic during molding. Let’s examine the typical culprits behind trapped gases:
Insufficient Drying
Many resins readily absorb ambient humidity. Materials like nylon, polycarbonate and PET can contain significant moisture unless properly dried beforehand. Under barrel heat, this moisture turns to steam, bubbling up the melt flow. Thorough drying is crucial for bubble prevention.
Air Ingestion
Even with drying, air pockets can still infiltrate resin handling. Vacuum conveyance after drying minimizes air introduction into pellets. Careful pouring and good housekeeping avoids contamination too.
Turbulent Flow
Excessive injection velocity causes turbulent, non-laminar melt flow. This chaotic motion whips air into the polymer, creating micro bubbles. Slower laminar flow prevents gas entrapment.
Material Degradation
Keeping resin in the barrel for prolonged periods degrades it due to excessive heat exposure. The lowered viscosity of degraded plastic allows gaseous byproducts to mix in, causing bubbles.
Poor Venting
Inadequate mold venting design leaves no path for trapped air to evacuate the cavity during filling. With nowhere to exit, gases have no option but to remain encapsulated as bubbles.
Premature Freezing
Cooler mold temperatures accelerate the freezing rate of the flow front before gases fully vent. The quicker solidification traps bubbles inside, prohibiting escape.
By identifying which factors are contributing bubbles in your application, you can establish targeted countermeasures. Next let’s explore proven ways to address each one.
How to Prevent Bubbles: Solutions for Each Root Cause
With a clear grasp of what’s causing bubbles, we can now apply tailored fixes for flawless injection molding:
Thorough Material Drying
Plastics prone to moisture absorption like nylon and PET need drying to under 0.2% content before molding, typically using desiccant dryers. This prevents steam bubbles.
Careful Resin Handling
After drying, use closed vacuum conveyors to transport pellets. Avoid open air moving and pouring which allows air ingestion. Gentle handling maintains bubble-free material.
Conservative Injection Velocity
Slower, laminar flow profiles prevent turbulence and air entrapment. Base target injection speeds on the viscosity and flow characteristics of each material.
Closely Monitoring Shot Size
Matching the shot volume to part geometry avoids prolonged exposure to heat that can degrade plastic. Combine with sufficient back pressure for a proper cushion too.
Enhancing Vent Design
Proper vent depth, diameter, location and angle facilitates air removal from the cavity during filling. Vacuum vents further enhance bubble clearance.
Allowing Sufficient Mold Temperature
Within permissible ranges, using warmer molds keeps materials fluid longer, permitting time for gases to fully vent before freezing off.
Rather than fixing issues in hindsight, this proactive approach tackles root causes for permanent prevention. Now let’s see how these solutions apply through a real-world case study.
Case Study: Eliminating Bubbles in Transparent Parts
For flawless optical clarity in molded visors, a medical device maker struggled with sporadic bubbles near the curved sections. By methodically addressing root causes, bubbles were eventually banished.
Step 1: Thorough Drying
Despite using PC, a hygroscopic resin, no dedicated drying was implemented beforehand. A desiccant wheel dryer set to 250°F for at least 4 hours consistently dried parts under 0.1% moisture.
Step 2: Tuning Flow Dynamics
High injection speeds caused mid-fill turbulence as the single small gate couldn’t keep up. Lowering velocity enabled laminar flow, while a second gate balanced filling.
Step 3: Boosting Venting Capacity
Only two tiny vents originally existed for the large 14” curved area. Adding more wide vents ensured gases had room to escape.
Combining material, mold and process changes according to the fundamentals outlined earlier consistently produced flawless, bubble-free parts in high volumes.
By addressing the distinct causes behind their bubbles with tailored solutions, this manufacturer achieved precision clarity meeting strict medical standards. The key was correctly identifying and rectifying root causes.
Preparing a Prevention Strategy
While post-production fixes have some effect, permanently preventing bubbles requires an upstream approach:
- Verify optimal pre-drying protocols for each material
- Carefully handle resins to avoid air ingestion
- Map out conservative injection fill rates
- Closely monitor shot volumes
- Enhance venting for ideal air removal
- Permit sufficient mold heat for venting time
Rather than reactively attacking symptoms, this proactive philosophy stops bubbles at the source for flawless, resilient manufacturing. Just a few small tweaks make a big difference!
Combined with robust process control and scientific molding, zero bubbles become an achievable benchmark, leading to perfect surface quality and optimal structural integrity.
By taking an informed, root cause-based view of bubble defects, plastics processors can transform from battling bubbles to banishing them outright through fundamental best practices. The result is maximum performance and aesthetics.
