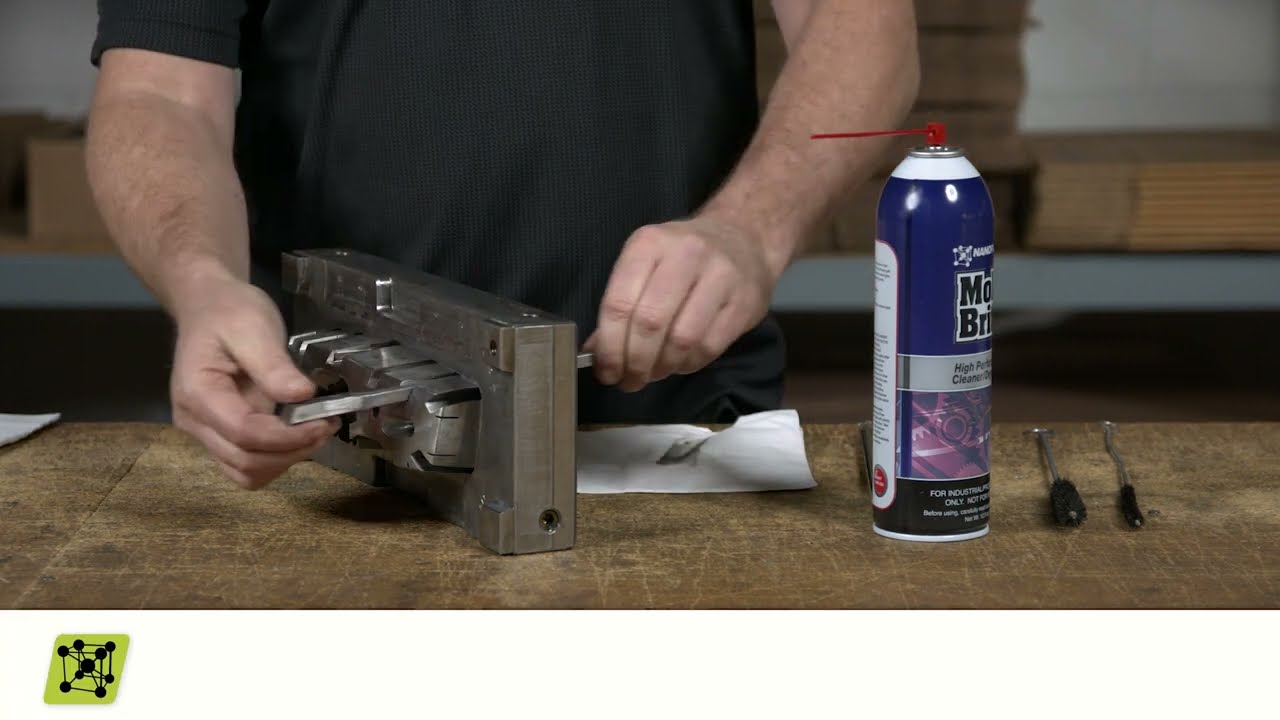
Keeping your plastic injection molds clean is absolutely critical to producing high-quality parts and extending the life of your molds. In this comprehensive guide, as a professional plastic injection molding manufacturer, I’ll walk you through the entire plastic injection mold cleaning process step-by-step.
First, let’s quickly cover why properly cleaning injection molds matters so much.

Why Cleaning Injection Molds Is So Important
When plastic is injected at high temperatures and pressures, residue, contaminants and degradation products inevitably build up inside the mold over repeated cycles. This residue can:
- Degrade part quality – Any imperfection on the mold surface can transfer to the parts.
- Reduce cooling efficiency – Buildup in cooling channels lowers heat transfer.
- Cause venting issues – Material blocking vent paths causes short shots.
- Lead to galling and wear – Friction, abrasion and corrosion damage mold steel.
By thoroughly cleaning the mold on a regular basis, you prevent these issues which leads to better process stability, lower scrap rates and longer mold life.
So what’s the best way to clean an injection mold?
I’ve tested pretty much every method out there from manual scrubbing to ultrasonic cleaning. In my experience, here is the most effective step-by-step process…
How to Clean Plastic Injection Molds
Step 1: Disassemble the Mold
Before cleaning, fully disassemble the mold separating the cavity and core halves. This exposes all of the surfaces and allows you to access vents, ejector pins, etc.
If certain components can’t be fully removed, at least separate along the parting line.
Step 2: Remove Loose Contamination
Use a plastic scraper or brass brush to remove large chunks of debris and breakdown thicker layers of residue.
Avoid using anything harder or more abrasive as this can damage the mold steel. Work carefully around textured surfaces.
Step 3: Selection an Appropriate Cleaner
For most residue, a Mold Cleaner like Klüber Mold Protector works very well. It’s designed to remove plastic, lubricants and release agents without being overly aggressive.
Use a cleaner specially formulated for injection molds instead of generic degreasers which can degrade protective coatings over time.
Step 4: Manual Cleaning
Apply a generous amount of mold cleaner then scrub with a soft-bristle brush and cotton rags. Ensure you work it into every cavity, core, vent channel, etc. This breakdown contaminants for subsequent removal.
Repeat the process if needed on extremely dirty areas but avoid over-scrubbing textured surfaces.
Step 5: Rinsing
Thoroughly rinse away all traces of the cleaner using hot water and clean cotton rags. Be very through – any residue left on the mold can transfer to the plastic parts later on.
Compressed air can help clear vents and holes if you have an air gun available.
Step 6: Drying
Allow the mold to dry fully before reassembly. I typically place parts on a rack in a warm area with airflow. You can speed this up by using a portable heater or heat gun.
Avoid letting any water pool or droplets remain on the mold.
Step 7: Final Inspection
Before running production with your cleaned mold, perform a final visual inspection looking for any remaining dirt or contaminants.
Also check for any signs of wear, damage or corrosion addressing these issues before the problem transfers to your parts.
Pro Tips for Keeping Molds Clean
Here are a few additional tips for maintaining clean injection molds and preventing future buildup:
- Use mold release – Apply quality release agent between runs prevents plastic sticking.
- Stay on top of cycles – Don’t allow excessive buildup before cleaning.
- Filter cooling water – Remove solids prevents fouling of channels.
- Have a PM plan – Schedule offline cleanings every 2 years minimum.
Conclusion
Keeping your plastic injection molds properly cleaned is easily one of the highest ROI activities you can do as a molder.
It maximizes productivity by allowing consistent processing without interruptions from venting problems, dimensional issues or cosmetic defects related to residue and contamination.
You also preserve the precision polished surfaces that are essential for injection molding success through reducing abrasion and corrosion.
By following this complete how to clean injection mold process, you’ll keep your mold in peak operating condition for flawless production runs and greatly extended service life.
Let me know in the comments if you have any other injection mold cleaning tips I should add!
