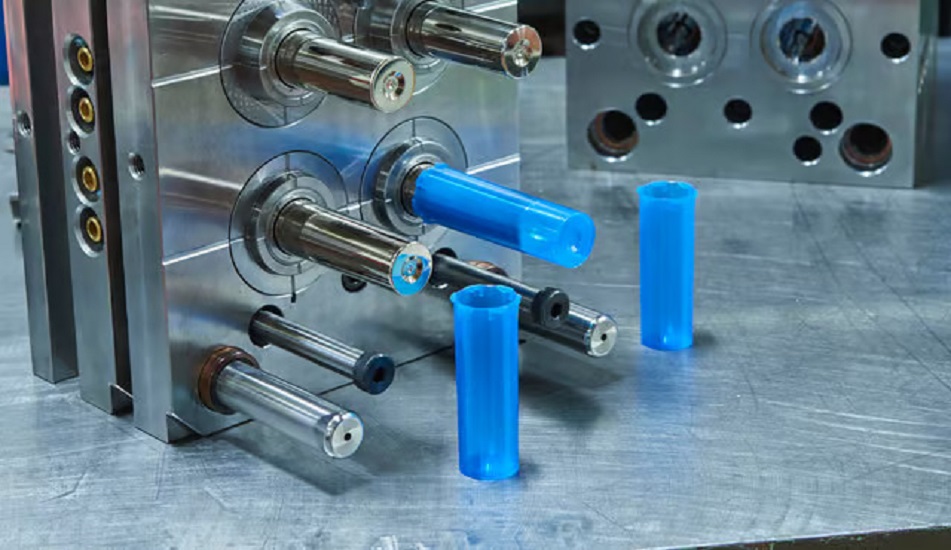
Designing parts for injection molding can seem tricky. But follow these 9 tips from a molding expert and you’ll be ready to create high-quality components. Injection molding pushes melted plastic into a mold to create parts. It’s versatile but complex, so preparation is key before manufacturing starts.
In this post, as a professional plastic injection molding manufacturer, I’ll share what I’ve learned to help you nail injection molded part creation.

How to Design Plastic Injection Molded Parts
Carefully Select The Best Material
There are tons of plastics to choose from. Each option has different properties to consider, like:
- Temperature resistance
- Bonding ability
- Dimensional stability
You generally pick either a crystalline or amorphous material. Crystalline plastics have better chemical resistance. But amorphous versions dimensionally stable and impact resistant.
I’d read up on common options like ABS and nylon. Check how their qualities line up with your product needs. Getting the material right is vital before design work starts.
Know Your Tolerance Requirements
Tolerance refers to the precision of your finished plastic parts. It’s affected by material shrinkage as the injection molded parts cool after being made.
So amorphous substances like PLA usually allow for tighter tolerances than crystalline ones such as PEEK.
I’d advise chatting with your manufacturing partner about tolerance early on. If you need tighter requirements than their normal capability, provide technical drawings upfront so the extra precision gets factored in.
Stick To Optimal Wall Thickness
Consider these pointers for picking the best wall thickness:
- Thinner walls speed up cycles and cut costs. For many uses, ~2 mm does the job.
- Unlike with CNC machining, even thickness is best to avoid sink marks on parts.
- Uneven cooling from varying thickness also increases warping risk. Changes over 15% of normal thickness can cause issues.
Here’s a table with recommended measurements for common plastics:
| Material | Thickness |
|---|---|
| ABS | 1.143 – 3.556 mm |
| Acetal | 0.762 – 3.048 mm |
| Nylon | 0.762 – 2.921 mm |
Add A Draft For Easier Ejection
Vertical walls can get sticking issues when removing cooled parts from molds. So introduce a slight angle, known as draft, to your design’s sides.
Deeper mold cavities need more draft for clean release. General guidance is ~1 degree per inch of depth.
But shrink rates and other elements also impact ideal angles. I suggest consulting an injection molding expert for exact draft specifications.
Introduce Radii To Improve Flow
It’s tempting to use sharp corners for elements needing right angles. However, rounding off edges has some major perks:
- Enhances molten plastic flow through molds
- Boosts part structural integrity
- Prevents breakages when products get used
For good flow, make internal radii ≥ 0.5x and external radii ≥1.5x the adjacent wall thickness.
Core Out Thick Sections
Instead of 100% solid parts, it’s smarter to core out the middle and reinforce walls with ribs. This cuts material usage without denting strength.
Follow the ~40-60% rib thickness to wall thickness ratio rule for sturdy, sink-free results. Coring out makes for faster cooling as well.
Mold With Or Without Undercuts?
Undercuts involve part elements stopping clean removal from a simple two-piece mold. They often provide helpful functions, like clip fits.
But avoiding undercuts simplifies the tooling and lowers mold costs. Assess if:
- Simplifying the design to exclude undercuts is possible
- Accommodating them is necessary to keep key features
If essential, use side cores despite the extra machining and expenses.
Attach Bosses For Stability
Bosses act as mounts or standoffs for plastic parts. Size outer diameter to ~2.5x the fastener size, e.g screws.
And unlike free standing bosses, attach them to a wall or rib. Keep thickness ≤60% of the part’s external walls too.
Strategize Gate Locations
Gates control how plastic flows into mold cavities. But they leave small vestiges, however subtle.
So inform your manufacturing partner about any cosmetic or functional restrictions on gate placement. Define unacceptable areas right away.
Partner With Experts
Engineers can struggle optimizing parts for injection molding solo. Instead, consider getting specialist support.
They bring extensive materials knowledge and design experience for creating high quality, cost-effective components.
For affordable services and exotic polymer options, try 3ERP’s injection molding. I’ve used them myself for some tooling and been very impressed.
Conclusion
Following proper design guidelines is crucial for injection molded components. Simple tweaks like adding draft, radii, and ribbing go a long way toward eliminating defects and reducing manufacturing costs.
Early collaboration with injection molding partners gives additional insights that improve part designs. Applying these tips will have you optimizing parts like an expert!
